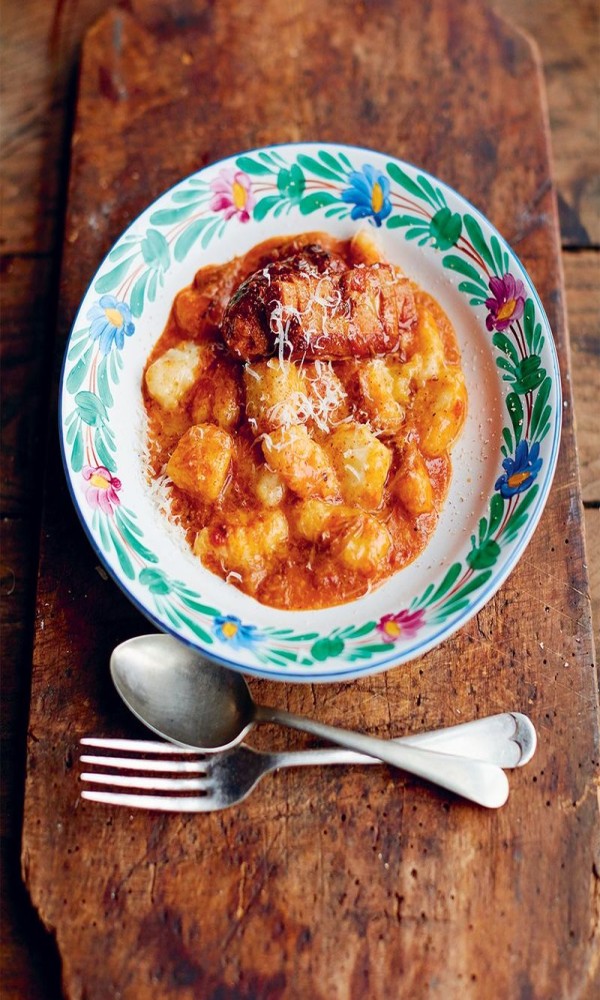
Gnocchi – those delightful little potato dumplings that seem to melt in your mouth – are a cornerstone of Italian comfort food. But achieving that perfect balance of pillowy texture and delectable flavor can sometimes feel like a mystery. Fear not, fellow food adventurer! This comprehensive guide, inspired by the culinary genius of Jamie Oliver, will equip you with everything you need to create restaurant-worthy gnocchi at home.
Understanding the Gnocchi Universe

Before we dive into the potato paradise, let’s establish a gnocchi foundation. Traditionally, gnocchi are made with simple ingredients: potatoes, flour, egg yolk, and a pinch of salt. However, variations abound! Some recipes incorporate ricotta cheese for extra richness, while others swap wheat flour for alternatives like semolina or even chestnut flour. The key lies in finding the perfect balance between dough consistency and personal preference.
Gathering Your Gnocchi Arsenal
Now, onto the fun part – assembling your gnocchi-making arsenal! Here’s what you’ll need:
Ingredients:
Equipment:
The Gnocchi Transformation: From Spud to Sensation
Now, let’s embark on the magical journey of transforming humble potatoes into delectable gnocchi!
1. Prepping the Potatoes: Begin by thoroughly washing your potatoes. Fill your large pot with generously salted water and bring it to a boil. Gently add the potatoes and cook until fork-tender, which should take about 15-20 minutes. Drain the cooked potatoes thoroughly and return them to the pot over low heat for a couple of minutes to allow any excess moisture to evaporate.
2. Ricing the Potatoes: While the potatoes are still hot, use a potato ricer or a fine-mesh sieve to create smooth, fluffy mashed potatoes directly onto a clean work surface. Important Tip: Avoid using an electric mixer, as this can lead to a gummy dough.
3. Flour Power! Create a well in the center of your riced potatoes. Crack the egg yolk into the well, then sprinkle with salt and a generous amount of freshly ground black pepper. Gradually incorporate the flour from the edges of the well into the wet ingredients, using a fork to gently combine them. Once a shaggy dough begins to form, start using your hands to knead it on the lightly floured work surface.
4. Finding Dough Nirvana: Continue kneading the dough for about 5 minutes, adding small amounts of extra flour only if the dough feels sticky. The ideal gnocchi dough should be soft yet slightly firm, with a slight springiness when pressed.
5. Gnocchi Shaping Symphony: Lightly dust your work surface with flour. Cut the dough into manageable pieces and roll each piece into long ropes, about 1-inch thick. Using a sharp knife, cut the ropes into ¾-inch gnocchi segments.
6. The Ridged Embrace: Here comes the signature gnocchi shaping step! Take each gnocchi segment and gently roll it back and forth over a gnocchi board (or the tines of a fork) to create little ridges. This step not only adds texture but also helps the sauce cling to the gnocchi later.
7. The Gnocchi Bath: Bring a large pot of salted water back to a boil. Carefully drop the gnocchi, a few at a time, into the boiling water. The gnocchi are cooked when they float to the surface, which takes about 1-2 minutes. Use a slotted spoon to remove them from the water and transfer them directly to your serving dish.


